
When we last left the Shack renovation, it looked like this:

My list of things I hope to accomplish in here is pretty modest, considering the scope of projects that I usually to take on.
1. Sort and store (or dispose of) all of the items inside the building.
2. Take up the plywood on the floor, evict the varmints and clean up their mess.
2a. (new item) Plumbing consultation.
3. Install vapor barrier and insulate the floor.
4. Reinstall the plywood.
5. Remove the dropped ceiling and all of its framing.
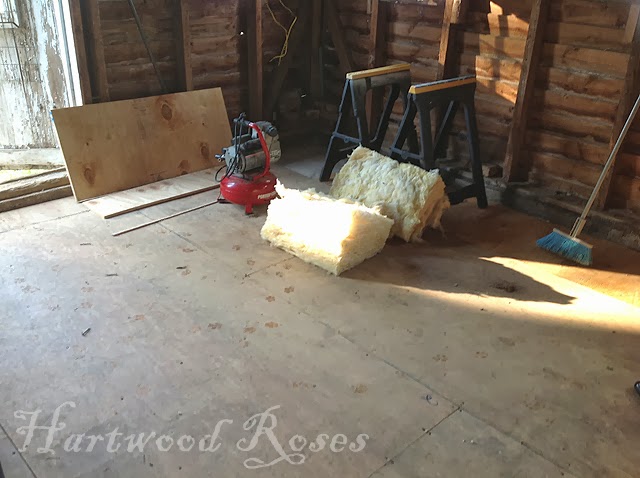
The items in the building have been sorted and the stuff I am keeping is stored in the greenhouse for now. With the plywood removed and the varmint nests gone, we stopped work to consult with a plumber to see what it would take to put water and a sewage connection in here. He said that it's possible, but it would require lots of digging and more $$$ than we have to spend on this right now. With this info in mind, we decided to proceed with closing up the floor ... screwing the plywood in place so we could remove it fairly easily if we decide to put in plumbing in the future.
When fireman son-in-law arrived for work, it took a few minutes of explaining my plan for him to understand how I wanted to insulate the floor. As with most things I do, this is extreme out-of-the-box thinking ... sometimes it's difficult for regular construction guys to see inside my imagination. (I have been told, on more than one occasion, that my mind must be a very scary place to live.) Once he understood, he was off and running and progress came quickly.
First thing was to cover the cracked concrete floor underneath the floor framing with 6-mil plastic vapor barrier. Then, he nailed 2x2 strips along the bottom edge of each floor joist. The cleats create a small ledge to support strips of 1" foil-faced foam insulation, onto which he placed bats of fiberglass insulation.


After the insulation was in place, he stapled another layer of plastic on top of it and began to reinstall the plywood sub-floor.


We have to make a trip to the store to get two more sheets of plywood to fill in the corners and the edges, then the floor will be finished! This should happen while fireman son-in-law is here tomorrow.
What's that on the floor?

Can you tell that Ruby was with me while I was taking these photos?
Let's update the list:
4. Reinstall the plywood.
5. Remove the dropped ceiling and all of its framing.
I'm not sure how much longer I will have fireman son-in-law for this project. If it's more than just a few more days, I have some more stuff for him to do.
Happy Sunday, Everyone!


