
Looks better, doesn't it?

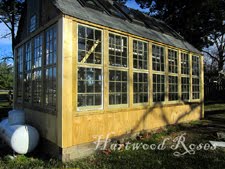
Here is a reminder of what this looked before I started:

It should only take a few minutes to get the rest of this stuff out of here, so I can start on Item #2.

Northwest corner.

Northeast corner.

Southeast corner.

Southwest corner.
Updating the List:
2. Take up the plywood on the floor, evict the groundhog and clean up his mess.
3. Install vapor barrier and insulate the floor.
4. Reinstall the plywood.
4. Remove the dropped ceiling and all of its framing.
The battery for my screw gun is all charged, and I have a spare battery on the charger for when I need it. Stay tuned, because some floor is coming out today!


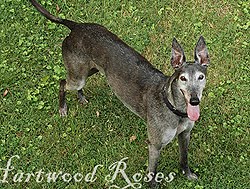


Bravo!! Bravo! Here groundhog groundhog groundhog... nice little groundhog... get in the cage Groundhot... buh bye groundhog....
ReplyDeleteLord, woman, I need you here at my place, pronto! You might be able to make some serious headway that I can't seem to find the guts to do!
ReplyDeleteWhat a wonderful project! You did a good job on getting it empty! Next!!!
ReplyDeleteHow will you seal the area below the new floor to keep a ground hog out of the crawl space in the future ?
ReplyDeleteDon
Don, there was a missing piece of siding on one corner of the building (and lots of daylight in the walls), so access inside the Shack for a varmint was easy. The floor wasn't completely covered with plywood, and they could go in and out of the framing all day with no problem. This time, I will completely cover the floor frame, eliminating their access. I fixed the missing siding already, but small critters can still get in through oh-so-many gaps in the walls. These will be addressed in later stages of this project.
ReplyDelete